How To Securely Access Raspberry Pi VNC Over Internet [Guide]
Ever dreamt of controlling your Raspberry Pi from anywhere in the world, peering into its digital heart from across town, or even across oceans? The ability to remotely access your Raspberry Pi's VNC server over the internet opens up a world of possibilities, transforming a humble single-board computer into a powerful, accessible tool, and is a skill easily within your grasp.
The lure is undeniable: the flexibility to manage your projects, monitor your home automation systems, or even simply access your desktop environment from afar. But the journey to achieving this remote access isn't always straightforward. Navigating firewalls, understanding port forwarding, and securing your connection can seem daunting. This guide will cut through the jargon, providing a clear and concise roadmap to securely access your Raspberry Pi's VNC server, ensuring you can connect from anywhere.
Before we dive into the specifics, let's establish the core concepts. VNC, or Virtual Network Computing, allows you to view and control another computer's desktop environment. Think of it as having a remote window into your Raspberry Pi. The internet, of course, is the global network that connects us all. The challenge lies in bridging these two, in allowing your device to communicate securely and effectively from a remote location.
The primary hurdle when connecting to your Raspberry Pi's VNC server over the internet is the nature of home networks. Most home internet connections utilize a dynamic IP address, which changes periodically. This makes it difficult to consistently point your remote device to the correct location. Additionally, your router, acting as a firewall, shields your internal network from the outside world. To circumvent these issues, you'll need to address dynamic IP addressing and configure port forwarding.
Lets begin with a brief overview of the essential components. Your Raspberry Pi, the central hub, runs the VNC server. Your router, the gateway, manages the flow of data between your home network and the internet. And your remote device, be it a laptop, tablet, or smartphone, acts as the client, connecting to the Raspberry Pi's VNC server.
The first step is enabling VNC on your Raspberry Pi. This is typically done through the Raspberry Pi configuration tool or by using the command line. Once enabled, you'll need to install a VNC server software package, such as RealVNC Server (a common choice for its ease of use) or TightVNC Server (a more open-source alternative). Once the server is installed, configure it with a strong password to protect your connection. This password will be required every time you connect remotely, ensuring the integrity of your security.
Next comes the crucial process of port forwarding on your router. This involves instructing your router to forward incoming traffic on a specific port (typically port 5900 for VNC) to the internal IP address of your Raspberry Pi. This is like setting up a direct line of communication from the internet to your Raspberry Pi. The exact steps for port forwarding vary depending on your router's make and model, so you'll need to consult your router's documentation. You'll access your router's configuration panel by typing your router's IP address (often 192.168.1.1 or 192.168.0.1) into your web browser. Within the configuration panel, locate the port forwarding settings, and create a new rule that forwards traffic on port 5900 to your Raspberry Pi's internal IP address.
As mentioned, dynamic IP addresses pose a challenge. Every time your IP address changes, you'll need to reconfigure your remote access settings. To overcome this, a dynamic DNS (DDNS) service is required. A DDNS service assigns a static hostname to your dynamic IP address, updating this mapping automatically whenever your IP address changes. Several free and paid DDNS services are available, such as No-IP and DynDNS. Once you've signed up for a DDNS service, you'll need to configure your router to use it. This usually involves entering your DDNS account details (username and password) into your router's configuration panel. Your router will then automatically update the DDNS service with your current IP address.
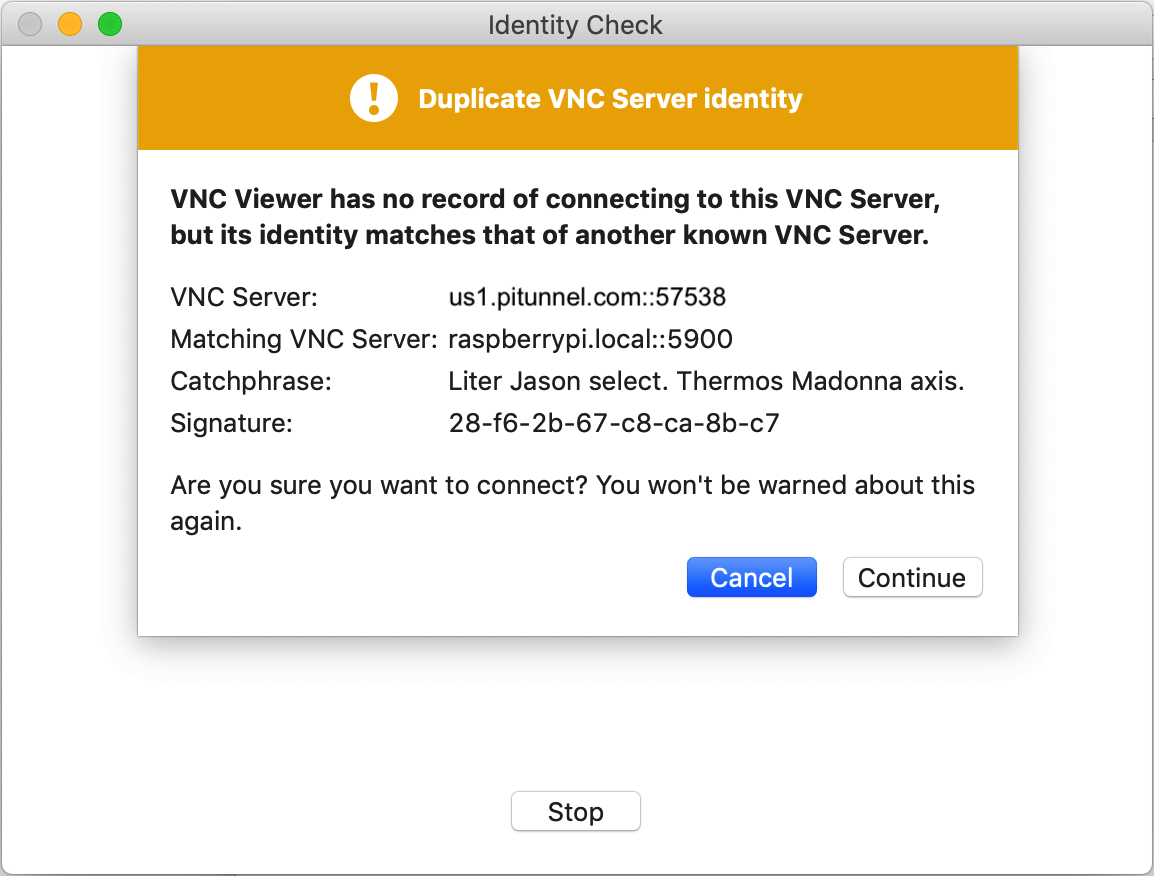
With VNC enabled, port forwarding configured, and dynamic DNS set up, the next step is securing your connection. While VNC itself can be encrypted, it is often recommended to establish a secure connection through SSH (Secure Shell). SSH creates an encrypted tunnel between your remote device and your Raspberry Pi, providing a secure pathway for VNC traffic. To use SSH for VNC, you will first need to enable SSH on your Raspberry Pi. Similar to enabling VNC, this is often done through the Raspberry Pi configuration tool or the command line. On your remote device, you'll use an SSH client, such as PuTTY (for Windows) or the built-in SSH client in macOS and Linux, to create an SSH tunnel to your Raspberry Pi. Once the tunnel is established, you'll configure your VNC client to connect through the SSH tunnel, encrypting all traffic.
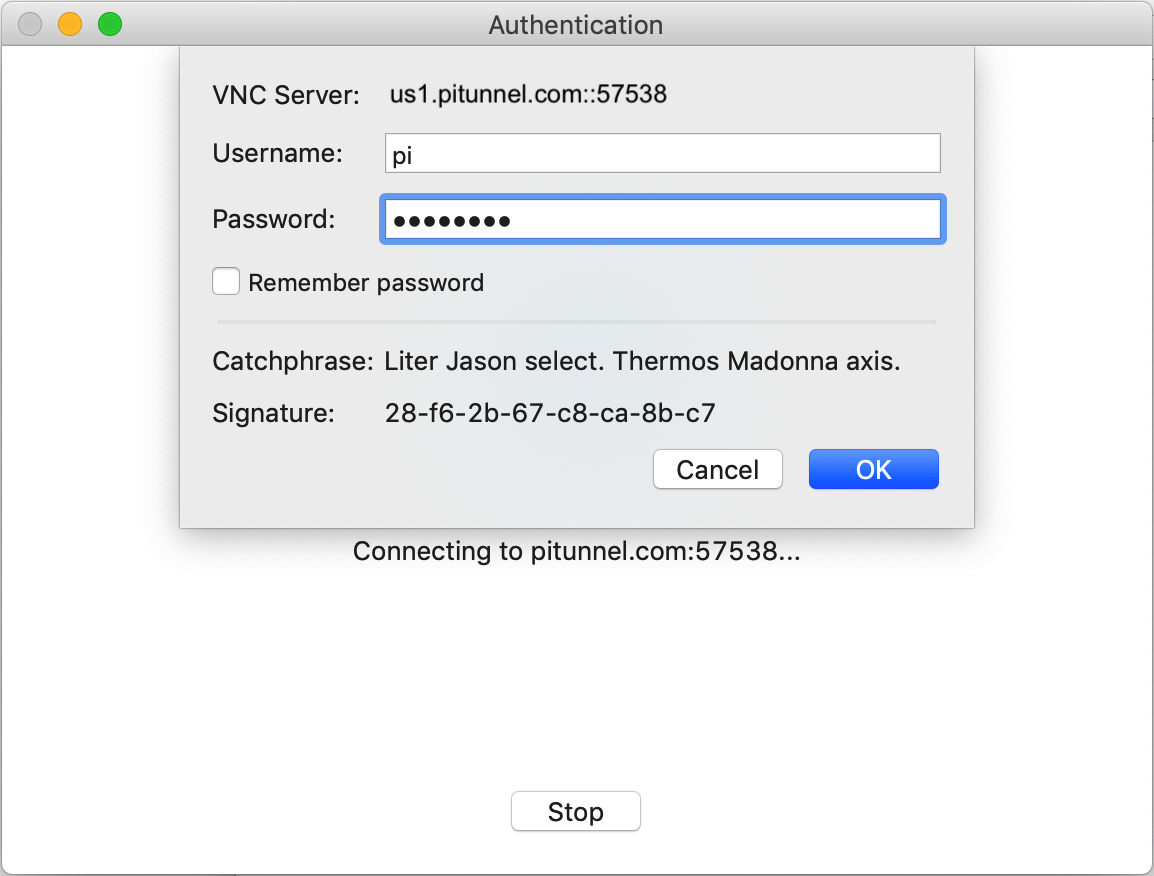
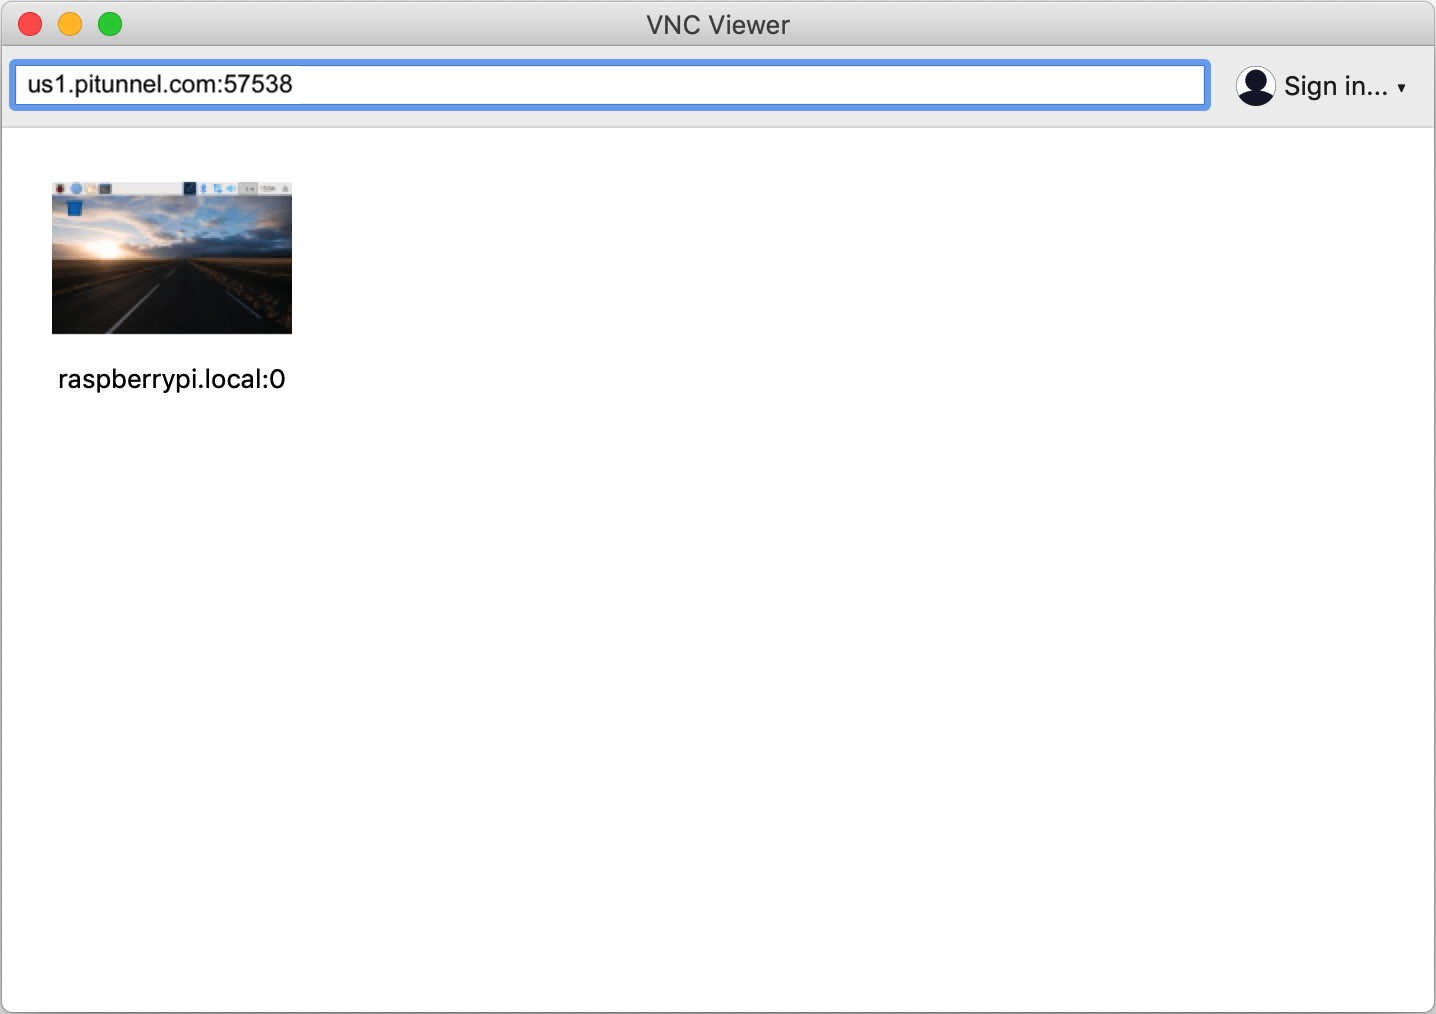
Once your security protocols are set, you'll need a VNC client on your remote device. Several VNC clients are available for different operating systems, including RealVNC Viewer, TightVNC Viewer, and UltraVNC. Install the appropriate client for your device, and configure it to connect to your Raspberry Pi. When configuring the client, you'll need to enter the hostname or IP address of your Raspberry Pi, the port number (5900 or the port you have forwarded), and the password you set for your VNC server. If you're using an SSH tunnel, you'll configure the VNC client to connect through the SSH tunnel instead of directly to the Raspberry Pi. Its often wise to test locally first. Establish a VNC connection from another device within your local network before attempting to connect from the internet.
With the technical complexities addressed, let's consider some practical applications. Remote access opens up possibilities beyond the typical desktop environment. You can monitor your home security system, remotely control your smart home devices, or even run resource-intensive applications from your Raspberry Pi while away from home. Imagine the convenience of checking on your 3D printer, remotely adjusting settings, and monitoring its progress from anywhere in the world. Or controlling your media center, accessing your personal music library from a remote location. The possibilities are as vast as your imagination.
Troubleshooting can be a crucial element in this process. If you are unable to connect, several things could be responsible. Double-check your port forwarding settings, confirming that you've correctly forwarded traffic on the correct port to your Raspberry Pi's internal IP address. Verify that your Raspberry Pi is connected to the internet and that the VNC server is running. Confirm that you've entered the correct hostname or IP address, port number, and password in your VNC client. Ensure your firewall isn't blocking incoming connections. If using an SSH tunnel, verify that the SSH tunnel is established and that your VNC client is configured to use it. And never underestimate the power of a simple reboot. Sometimes, a restart of your Raspberry Pi, router, or remote device can resolve connectivity issues. Finally, search the internet for specific error messages that you encounter, the online community has a wealth of information available.
Security should be your top priority. Always use strong passwords for both your VNC server and your SSH connection. Regularly update your Raspberry Pi's operating system and software to patch security vulnerabilities. Consider using a VPN (Virtual Private Network) for an extra layer of security. A VPN encrypts all your internet traffic, making it difficult for unauthorized individuals to intercept your data. By utilizing a VPN, you add an additional layer of privacy.
Accessing your Raspberry Pi's VNC server over the internet is a rewarding process. By understanding the underlying concepts, following the steps outlined in this guide, and prioritizing security, you can unlock the full potential of your Raspberry Pi. From remote desktop access to home automation control, the possibilities are limitless. Embrace the challenge, and enjoy the freedom of having your Raspberry Pi at your fingertips, no matter where you are.
This process is not always perfect, there can be glitches or errors from your end, it is recommended to always have a backup method if the situation arises.
Here's a table summarizing the key steps:
| Step | Description |
|---|---|
| Enable VNC on Raspberry Pi | Enable the VNC server within the Raspberry Pi's configuration settings or through the command line. |
| Install VNC Server Software | Install a VNC server package, such as RealVNC Server or TightVNC Server. |
| Configure VNC Server | Set a strong password to protect your VNC connection. |
| Configure Port Forwarding | Configure your router to forward incoming traffic on port 5900 (or your chosen port) to your Raspberry Pi's internal IP address. |
| Set Up Dynamic DNS (DDNS) | Sign up for a DDNS service and configure your router to update your dynamic IP address. |
| Enable SSH (Recommended) | Enable SSH on your Raspberry Pi and configure your SSH client. |
| Install a VNC Client | Install a VNC client on your remote device. |
| Configure VNC Client | Enter your Raspberry Pi's hostname or IP address, the port number, and the password in your VNC client. Configure to use the SSH tunnel if applicable. |
| Test Connection | Test the VNC connection from your remote device. |

