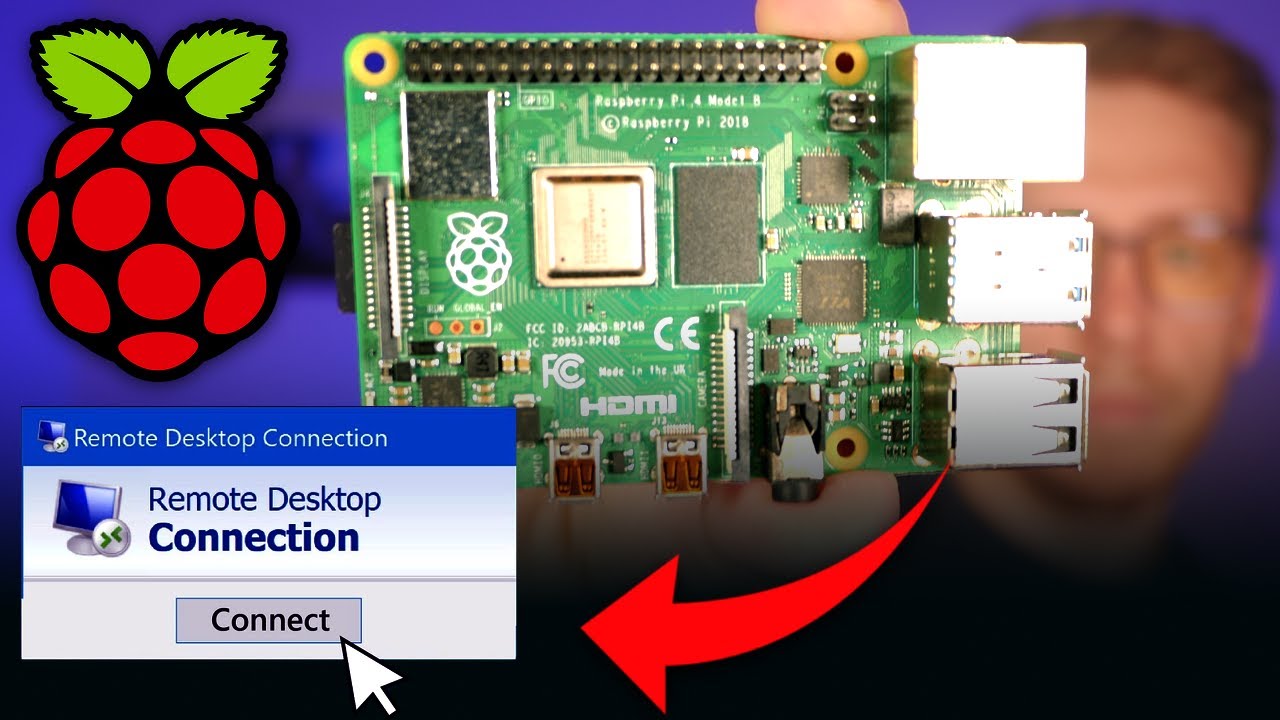
Access Your Raspberry Pi: VNC Remote Setup Guide
Is controlling a Raspberry Pi from anywhere in the world a technological dream or a readily achievable reality? The answer, emphatically, is the latter, thanks to the power of VNC (Virtual Network Computing) and the accessibility of the Raspberry Pi. This seemingly simple pairing unlocks a universe of possibilities, from managing a home server remotely to monitoring a science project across the country. We delve into the intricacies of establishing this connection, exploring the steps, the potential pitfalls, and the profound benefits that await those who embrace this technology.
The allure of remote access is undeniable. Imagine troubleshooting a software issue on your Raspberry Pi without physically being present. Picture yourself checking in on a 3D printers progress from your office, or even controlling your smart home devices while on vacation. The ability to remotely access and control your Raspberry Pi transforms it from a standalone device into a versatile, easily managed tool. This article will serve as your comprehensive guide, navigating you through the setup process, highlighting best practices, and equipping you with the knowledge to seamlessly control your Raspberry Pi via VNC from any location with an internet connection.
Before we proceed, it is imperative to understand the core components that facilitate this remarkable feat. VNC, at its heart, is a screen-sharing system. It allows you to view and interact with a graphical desktop environment running on a remote computer in this case, your Raspberry Pi from another computer or device. Think of it as having a virtual monitor, keyboard, and mouse directly connected to your Raspberry Pi, regardless of physical distance. This is achieved through a client-server model. The VNC server, which you'll install on your Raspberry Pi, broadcasts the screen's content, while the VNC client, installed on your controlling device (laptop, tablet, phone), receives this data and allows you to interact with the Pi. The final piece of the puzzle is the network connection. This ensures a channel of communication, a virtual wire, between the client and the server.
The setup process, although appearing complex at first glance, is remarkably straightforward. Let's dissect the steps, preparing you for a successful and frustration-free experience. Firstly, we will ensure you have a Raspberry Pi running a compatible operating system. Typically, this means using the official Raspberry Pi OS (formerly known as Raspbian), which comes in various flavors. The "Lite" version is ideal for headless operation (without a monitor, keyboard, or mouse) if you intend to manage it primarily remotely. However, if you prefer a graphical interface, the full version is the more appropriate choice. The specific method for installing VNC depends slightly on the operating system. The latest versions of Raspberry Pi OS often include a VNC server pre-installed, and can be enabled through the Raspberry Pi Configuration tool, accessible from the desktop environment or the command line.
For those using an older version of Raspberry Pi OS, or if the VNC server isnt pre-installed, you will need to install it manually. This can be done from the command line using the `apt` package manager. Begin by updating the package lists: `sudo apt update`. Then, install the VNC server, RealVNC being a popular and recommended choice: `sudo apt install realvnc-vnc-server`. Following the installation, you'll need to configure the server. This typically involves enabling VNC, setting a password for remote access, and potentially configuring security settings. The RealVNC server provides a user-friendly graphical interface for this purpose, accessible by running the command `vncserver` in the terminal. This command will typically guide you through the initial setup. You can also enable the VNC server through the Raspberry Pi Configuration tool (accessible through the GUI or by typing `sudo raspi-config` in the terminal). This will allow you to easily manage the VNC servers settings from the desktop.
Security is paramount when dealing with remote access. Exposing your Raspberry Pi to the internet necessitates robust security measures to protect against unauthorized access. Begin by changing the default password for the `pi` user. This is a fundamental security practice and will prevent many potential attacks. Next, consider using a strong, unique password for your VNC connection. RealVNC employs encryption to secure the connection, but a strong password remains your first line of defense. For enhanced security, consider setting up a firewall on your Raspberry Pi. UFW (Uncomplicated Firewall) is a user-friendly option that can be configured through the command line. Restricting access to the VNC port (typically port 5900) to only trusted IP addresses or networks significantly reduces the risk of unauthorized access. Furthermore, consider using a VPN (Virtual Private Network) to encrypt all traffic between your controlling device and your Raspberry Pi. This adds an extra layer of security, protecting your data from potential interception on public or untrusted networks. Setting up a VPN can involve a bit more advanced configuration, but the security benefits are well worth the effort.
Once the VNC server is configured on your Raspberry Pi, the next step is to configure the VNC client on your controlling device. There are numerous VNC client applications available for various operating systems (Windows, macOS, Linux, Android, iOS). RealVNC provides its own cross-platform client, which is a solid and reliable choice. Other popular options include TightVNC Viewer and UltraVNC. Download and install the appropriate VNC client for your device. Once installed, open the client application and enter the IP address of your Raspberry Pi, followed by a colon and the port number. For example, if your Raspberry Pi's IP address is 192.168.1.100 and you are using the default VNC port, you would enter `192.168.1.100:5900` in the client's connection settings. The first time you connect, you will be prompted for the password you set during the VNC server configuration on your Raspberry Pi.
Troubleshooting is a necessary part of the process. Even with careful configuration, issues can arise. One common problem is network connectivity. Ensure that both your Raspberry Pi and your controlling device are connected to the same network. If you are accessing your Raspberry Pi remotely over the internet, you will need to configure port forwarding on your router. This involves instructing your router to forward incoming connections on port 5900 (or the port you have configured) to the IP address of your Raspberry Pi. The specific steps for configuring port forwarding vary depending on your router's make and model. Consult your router's documentation or search online for instructions specific to your router model. Another frequent issue is firewall interference. Ensure that your firewall on both your Raspberry Pi and your controlling device is not blocking the VNC connection. Temporarily disabling the firewall during testing can help you diagnose this problem. Consider restarting your Raspberry Pi and your controlling device, as this can sometimes resolve unexpected connectivity issues. Check for error messages in the VNC server and client logs. These logs often provide valuable clues about the source of the problem. Additionally, make sure that the VNC server is running on your Raspberry Pi. Check the servers status by typing `sudo systemctl status vncserver-x11-serviced.service` (or the name of the VNC servers service) in the terminal. This command will display the status of the service, including any error messages.
Beyond the basic setup, there are advanced configurations that can further enhance your experience. Optimizing the VNC connection can improve performance, especially over a slower network connection. In the VNC client settings, experiment with different color depths, compression levels, and image quality settings. Reducing the color depth or increasing the compression level can improve responsiveness, particularly when dealing with a low-bandwidth connection. Another important consideration is setting up a dynamic DNS (DDNS) service if your internet service provider (ISP) assigns you a dynamic IP address. A dynamic IP address changes periodically, which would make it difficult to connect to your Raspberry Pi remotely. A DDNS service provides a static hostname that always points to your current IP address, even if it changes. This simplifies the connection process, as you only need to remember the hostname instead of constantly updating the IP address. Popular DDNS providers include No-IP and DynDNS. Furthermore, consider configuring SSH (Secure Shell) for added security. SSH allows you to securely access the command line of your Raspberry Pi from a remote location. This can be useful for troubleshooting, managing files, and executing commands without needing to use the graphical desktop via VNC. SSH connections are encrypted, providing a secure means of communication. Finally, consider using a reverse proxy, such as Nginx, to enhance security and manage multiple remote connections. A reverse proxy can act as a gateway, providing an extra layer of security and allowing you to easily manage connections to various services running on your Raspberry Pi.
The applications for Raspberry Pi VNC remote access are truly diverse. Hobbyists can remotely control their projects, such as robotics, weather stations, or home automation systems. Educators and students can use it for remote learning and collaboration, accessing shared resources and projects. Professionals can utilize it for remote system administration, software development, and data analysis. The possibilities are endless. Imagine a scenario where you're developing a web application on your Raspberry Pi and can test it remotely from anywhere in the world. Or, consider a situation where you are monitoring environmental conditions, like temperature or humidity, in a remote location, accessing the data and controlling the equipment from your home. The flexibility and convenience afforded by this technology open up a wide range of opportunities.
In conclusion, establishing a VNC connection to your Raspberry Pi is a rewarding endeavor that unlocks a universe of possibilities. From the basic steps of installing and configuring the VNC server and client to the advanced techniques of security and optimization, this comprehensive guide provides you with the knowledge and tools necessary to seamlessly control your Raspberry Pi remotely. Embrace the power of remote access and transform your Raspberry Pi into a versatile and manageable tool, ready to respond to your commands from anywhere in the world. With careful attention to security and the willingness to experiment with different configurations, you can unlock the full potential of this powerful combination, and elevate your technological capabilities to new heights.
One of the primary benefits of this technology is the ability to access your Raspberry Pi from anywhere with an internet connection. Whether youre at work, on vacation, or simply in another room, you can effortlessly connect to your Pi and manage your projects. This convenience is invaluable for a wide variety of applications, including home automation, media servers, and development projects. For home automation, VNC allows you to monitor and control devices like lights, thermostats, and security systems. This provides peace of mind and allows you to make adjustments remotely. For media servers, you can manage your music and video libraries, ensuring you have access to your entertainment wherever you are. For development projects, VNC gives you the flexibility to work on your code from any device, without being tied to a specific location. The ease of access saves time and enhances productivity, providing you with greater control over your projects and home environment.
Let's consider some specific examples of how Raspberry Pi VNC remote access can be used in practical scenarios. Imagine you have a home weather station running on your Raspberry Pi, collecting data on temperature, humidity, and barometric pressure. Using VNC, you can access this data from your smartphone or laptop while you're away from home, allowing you to track weather patterns in real-time. You can also monitor the performance of your Raspberry Pi itself, ensuring its functioning correctly. Another example is a 3D printer controlled by a Raspberry Pi. You can remotely monitor the progress of your print, adjust settings, and even cancel a print if necessary, all without physically being present. For those involved in education, a Raspberry Pi with VNC access can be used to create a virtual lab environment. Students can access software and resources remotely, promoting collaboration and experimentation, even when they are not physically in the same location. In essence, the applications are limited only by your imagination. Whether youre a hobbyist, a student, or a professional, the ability to remotely access and control your Raspberry Pi opens up a world of new possibilities.
As we move forward, the importance of security becomes paramount. When setting up remote access, its essential to implement robust security measures to protect your Raspberry Pi from unauthorized access. Start by changing the default password for the 'pi' user immediately after installation. This prevents malicious actors from gaining access to your device using default credentials. Furthermore, set up a strong and unique password for your VNC connection. Consider using a password manager to generate and store complex passwords securely. Enable a firewall on your Raspberry Pi to restrict incoming connections to only necessary ports, such as the VNC port (typically 5900). UFW (Uncomplicated Firewall) is a user-friendly tool for managing your firewall settings. Restricting access to your Raspberry Pi by IP address is another important security measure. Only allow connections from trusted IP addresses or networks. This prevents unauthorized access from unknown locations. If you plan to access your Raspberry Pi over a public network, consider using a VPN (Virtual Private Network). A VPN encrypts all your network traffic, providing an extra layer of security and protecting your data from potential interception. With these security measures in place, you can confidently enjoy the benefits of remote access, knowing that your Raspberry Pi and your data are well-protected.
Further consideration should be given to network performance optimization. When using VNC over a slower network connection, you may experience lag or delays. To improve performance, adjust the VNC client settings. Experiment with different color depths and compression levels. Reducing the color depth to 16 bits or using higher compression levels can significantly improve responsiveness, especially when working over a low-bandwidth connection. Consider using a wired Ethernet connection instead of Wi-Fi for your Raspberry Pi whenever possible. A wired connection generally provides a more stable and faster connection. If you must use Wi-Fi, ensure your Raspberry Pi is within range of your wireless router and that there is no interference from other devices. Reduce the desktop resolution on your Raspberry Pi if necessary. A lower resolution requires less data to be transmitted, improving performance. If you're using a VNC client that supports it, try enabling hardware acceleration, which can offload some of the processing tasks to the graphics card. By taking these steps, you can fine-tune your VNC setup for optimal performance, ensuring a smooth and responsive remote access experience.
One of the key benefits of VNC access is the capacity for remote control over a wide array of devices and applications. This offers a plethora of options for various tasks, from basic system administration to more complex and advanced applications. Consider, for instance, the capacity to remotely access and control a home automation system, allowing users to monitor and manage lights, thermostats, security cameras, and other devices directly from their mobile phones or computers. Through a VNC connection, you can easily adjust settings, check the status of devices, and make necessary changes, all without being physically present at your home. Moreover, VNC facilitates remote software development and testing. Developers can access their Raspberry Pi from any location, allowing them to code, compile, and test applications. This eliminates the need to physically travel to the location of the Raspberry Pi, saving valuable time and boosting productivity. Furthermore, VNC is an excellent tool for remote learning and education. Students can access virtual lab environments or educational resources remotely, encouraging collaboration and experimentation. In essence, the capability to control devices and applications remotely via VNC greatly broadens the utility and flexibility of the Raspberry Pi, allowing users to accomplish a wide array of tasks with ease and convenience.
The journey doesn't end with basic functionality. There are numerous advanced configurations that can further enhance your remote access capabilities. Dynamic DNS (DDNS) is crucial if your internet service provider (ISP) assigns you a dynamic IP address. A DDNS service provides a static hostname that always points to your current IP address, even if it changes. This simplifies the connection process, as you only need to remember the hostname instead of constantly updating the IP address. Consider using SSH (Secure Shell) for secure command-line access. SSH allows you to securely access the command line of your Raspberry Pi from a remote location. This is useful for troubleshooting, managing files, and executing commands without needing to use the graphical desktop via VNC. For enhanced security and management, consider using a reverse proxy, such as Nginx. A reverse proxy can act as a gateway, providing an extra layer of security and allowing you to easily manage connections to various services running on your Raspberry Pi. Finally, if you have multiple Raspberry Pis or need to manage access for multiple users, explore using a VNC server management tool. These tools simplify the management of VNC connections, making it easier to organize and administer remote access. By exploring and implementing these advanced configurations, you can maximize the potential of your Raspberry Pi VNC setup, and tailor it to meet your specific needs.
One frequently asked question pertains to the comparison of VNC with other remote access solutions like SSH. While both SSH and VNC provide remote access to a Raspberry Pi, they serve different purposes. SSH (Secure Shell) is primarily designed for secure command-line access. It is ideal for executing commands, transferring files, and managing the system from the terminal. SSH consumes significantly less bandwidth than VNC because it only transmits text-based data. However, SSH does not provide a graphical desktop interface, which is where VNC excels. VNC (Virtual Network Computing) offers a graphical user interface, allowing you to view and control the desktop environment of your Raspberry Pi. It's perfect for running graphical applications, managing files, and interacting with the user interface. VNC is a better choice if you need to view or interact with a graphical desktop environment. Some users might choose to use both SSH and VNC together. SSH can be used for secure command-line access, while VNC is employed for graphical operations. This combination provides a versatile and secure remote access experience, catering to various needs. In choosing between the two, consider the specific requirements of your task and decide which one best suits your needs. Often, using both solutions in conjunction proves the most effective approach.
Looking ahead, the evolution of remote access technologies, particularly in the realm of Raspberry Pi and VNC, is set to continue. We can anticipate advancements in security protocols, aiming to provide more robust protection against potential threats. Expect enhanced encryption methods, multi-factor authentication options, and more advanced firewall capabilities to become commonplace. There's likely to be increased focus on improving performance and reducing latency. This will involve optimizations in VNC clients and servers, potentially leveraging hardware acceleration and advanced compression algorithms. Furthermore, expect an expanded range of supported devices and platforms. Future developments may lead to seamless integration with emerging technologies like augmented reality and virtual reality, offering unique possibilities for remote interaction and control. As the Internet of Things (IoT) continues to expand, we can anticipate even greater integration between VNC and various IoT devices, simplifying control and management. In conclusion, the future holds promising advancements that will further enhance the capabilities, security, and user experience of remote access solutions like VNC, making the Raspberry Pi an even more versatile and valuable tool in a connected world.
Ultimately, mastering Raspberry Pi VNC remote access is more than just a technical skill; it's a doorway to greater control and flexibility in your digital life. Whether you're a seasoned tech enthusiast or a newcomer eager to explore the potential of the Raspberry Pi, the ability to remotely access and control your device offers undeniable benefits. You can streamline your workflow, monitor projects from afar, and gain peace of mind knowing that your devices are always within reach. The steps we have covered from setting up the VNC server and client to implementing robust security measures and optimizing performance will empower you to unlock the full potential of this technology. Embrace the opportunities that remote access provides and transform your Raspberry Pi into a powerful and versatile tool that seamlessly integrates into your digital life. As technology continues to evolve, the skills and knowledge gained from exploring Raspberry Pi VNC remote access will undoubtedly prove invaluable in the ever-connected world we inhabit. So, venture forth, experiment, and discover the limitless possibilities that await.


